How I film details at a wedding
July 19, 2021
I get this question a lot! How do you film details on a wedding day? Here’s my step by step process to get those coveted details shots! This starts with a little bit of planning: you have to tell your couple you want their details! (You can send them the details check list download at the bottom of the blog!)
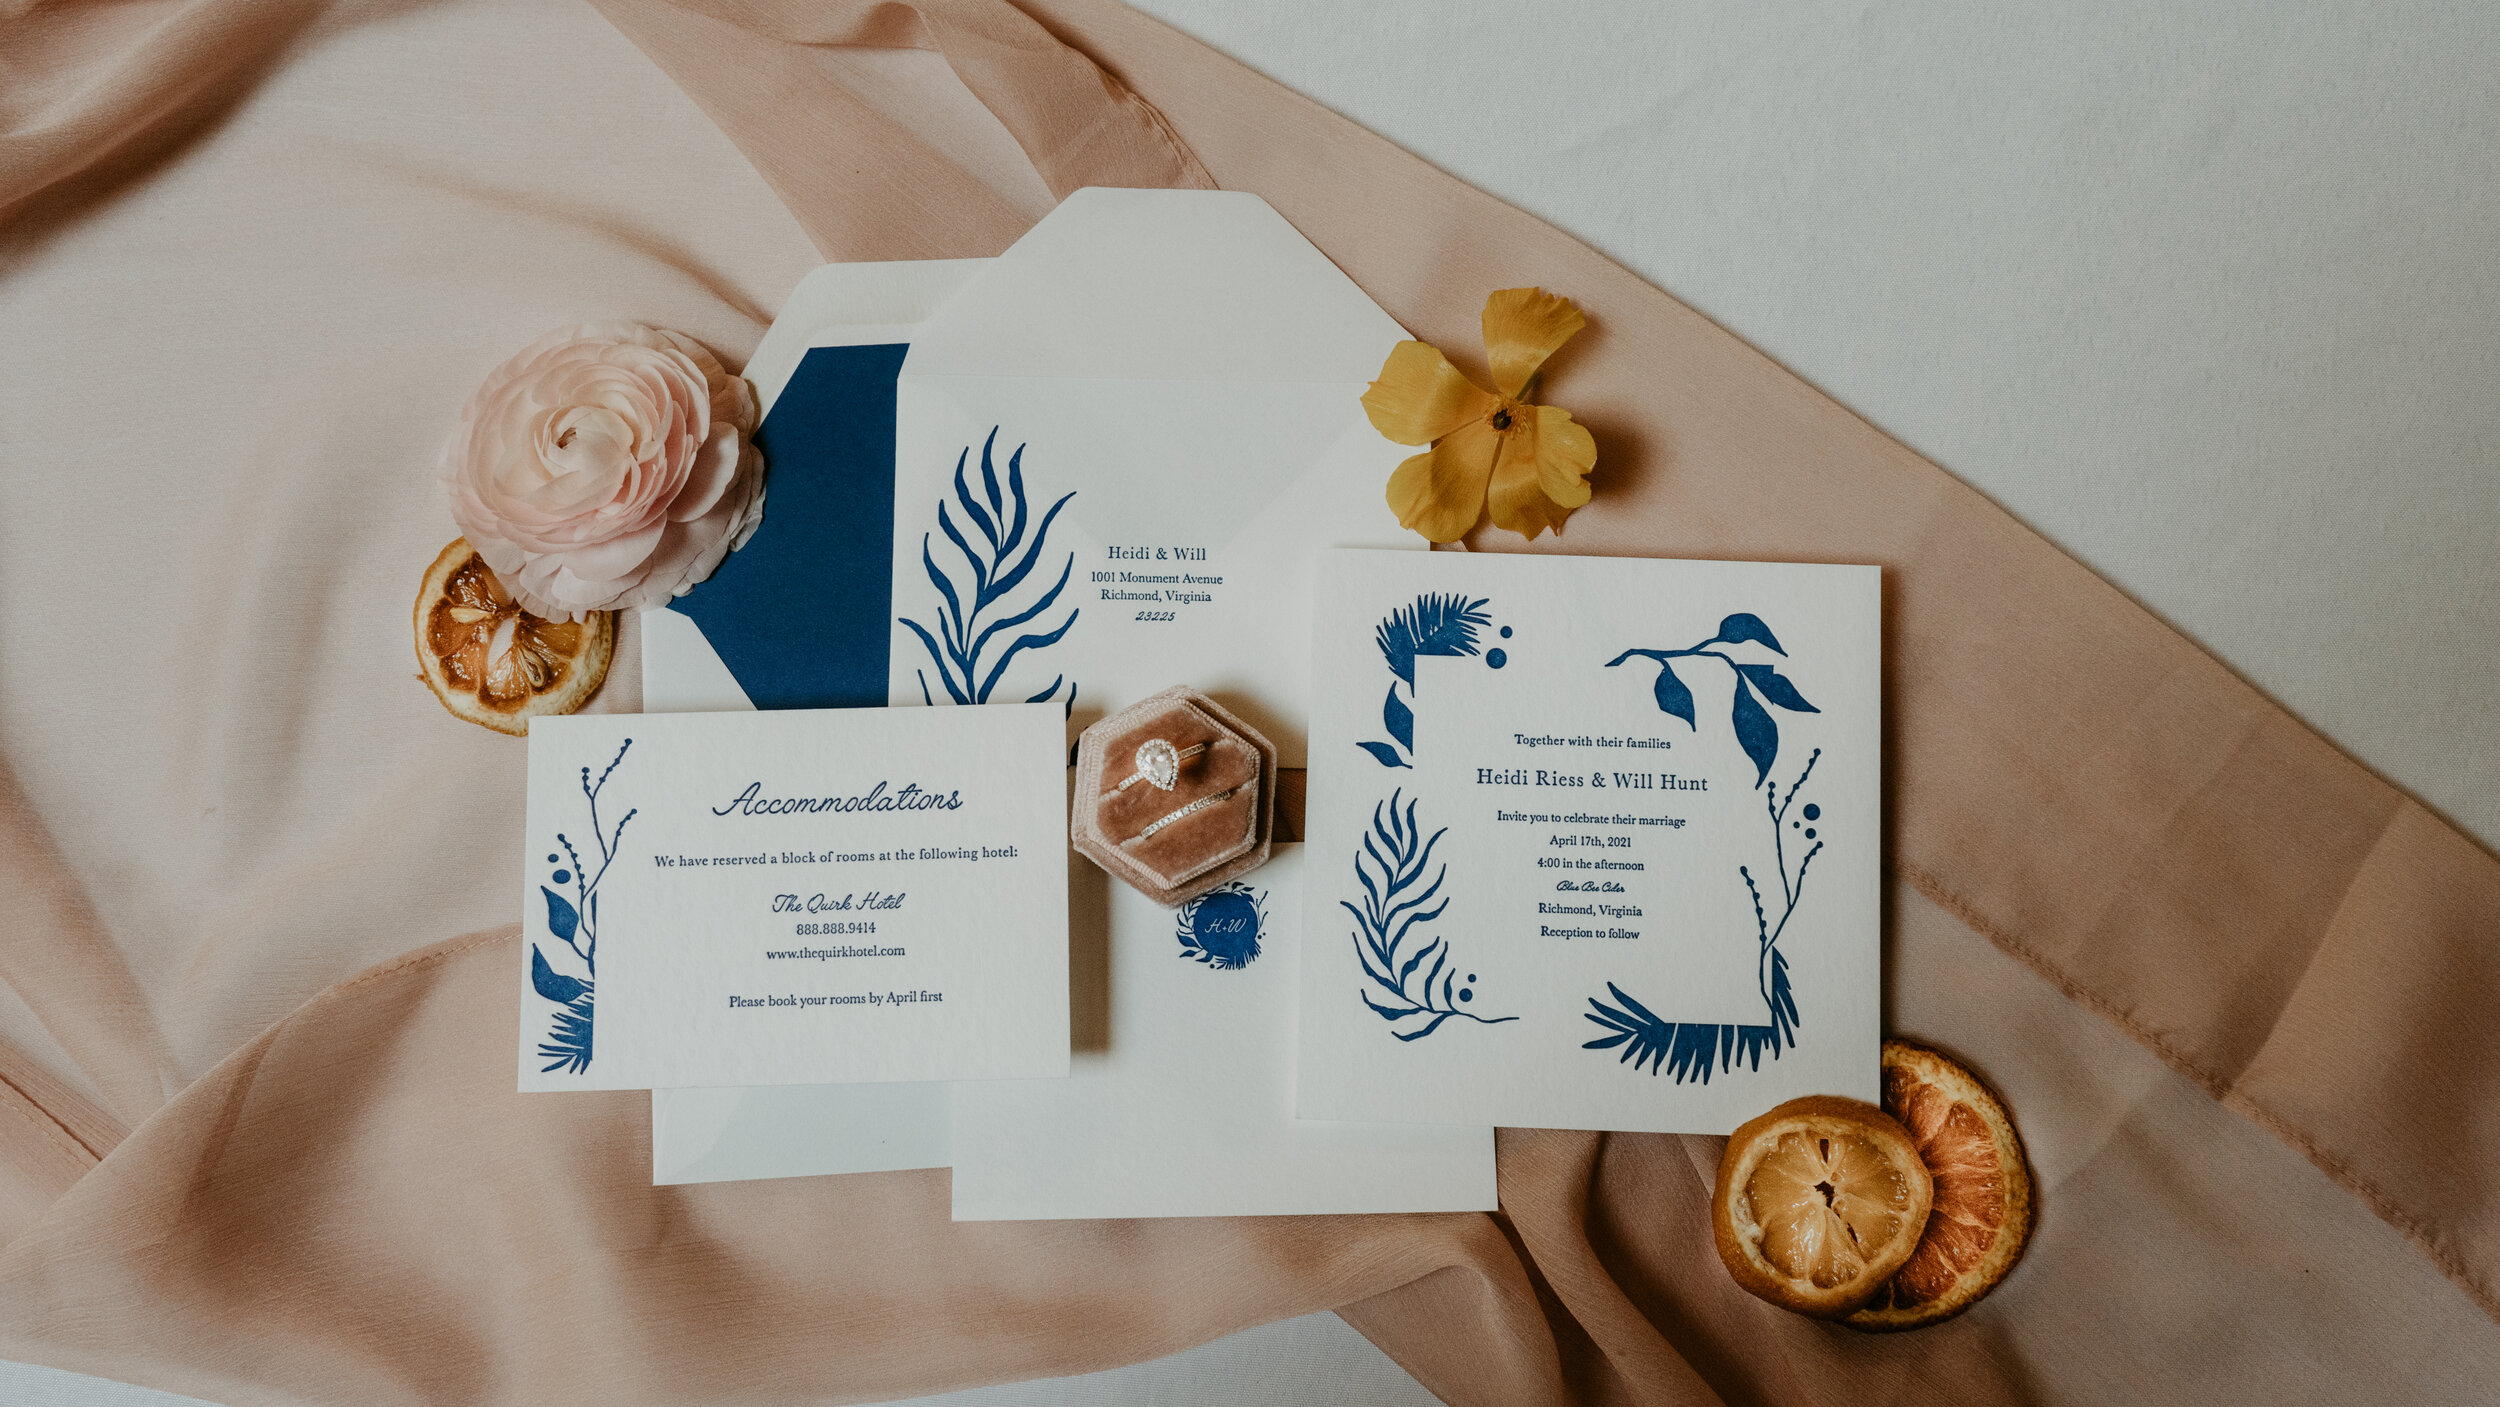
Common details are:
-
The rings
-
An invitation suite
-
Earrings
-
Bracelets
-
Perfume/Cologne
-
Cufflinks
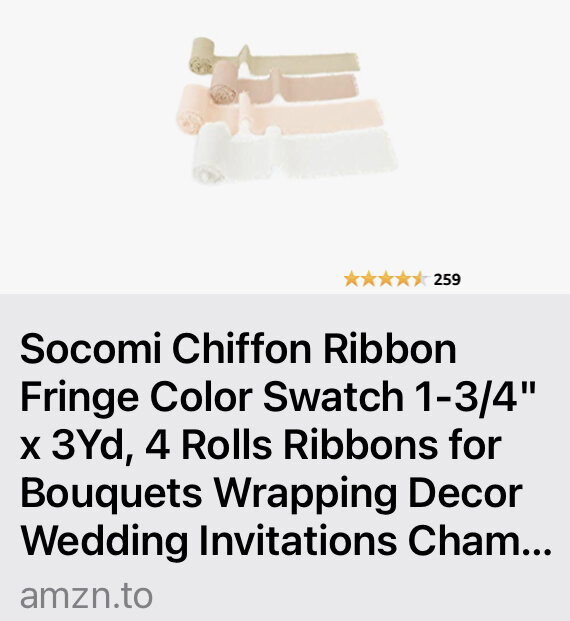
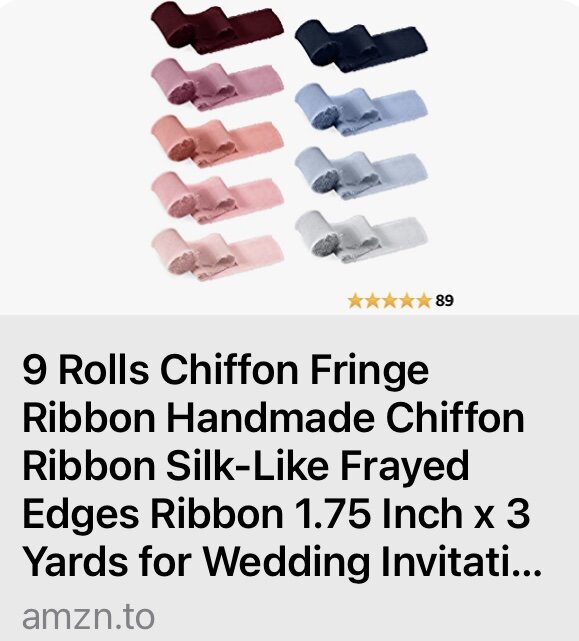
I also have a styling kit full of my favorite extras for details such as ribbons, ring boxes, and risers. Here’s links to the styling items I use every week! Disclaimer: these are affiliate links and I do get a small commission from the sales of these items at no extra cost to you. It helps me make free content for you like this!
After I’ve collected all the details, I lay down a ribbon or swatch in the background and set the paper products down slightly overlapping. I like to put the main invitation or paper product on risers, then fill in underneath with the other paper items. Then I plop the rings down right in the middle in a ring box, then fill in around the invitations with more jewelry, perfume, details, and some greenery and flowers if you have access to any!
I always get 4 main shots for my films:
-
A top down with a twist
-
A sweep from corner to corner
-
A close up of the ring
-
A close up of the invitation
It can look something like this:
To help you get shots like this, I’m sharing my details checklist with you so that you can share with your couples! Incorporate this into your workflow and send it to them before the wedding so they can start collecting details in a shoebox as they pack up!
